-
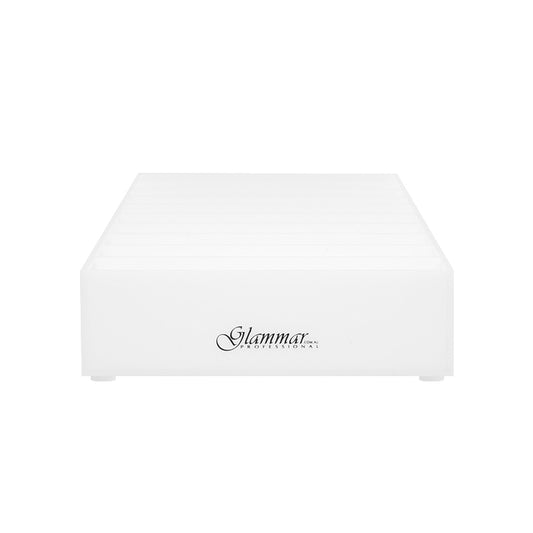
Glammar Acrylic Makeup Powder Organiser 6 Slots White
Regular price $8.00Sale price $8.00 Regular priceUnit price per$16.00Sale -
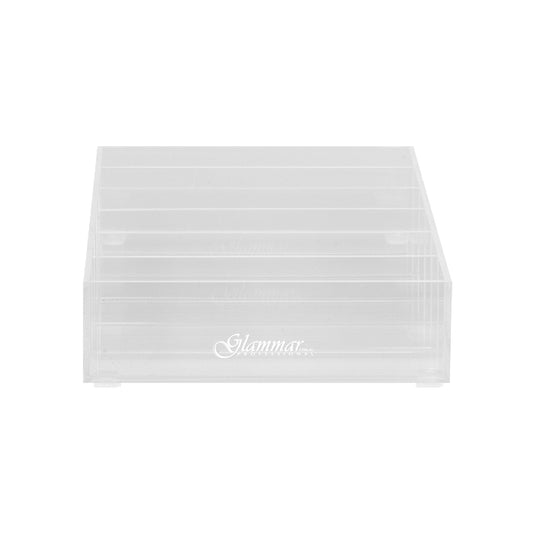
Glammar Acrylic Makeup Powder Organiser 6 Slots Clear
Regular price $7.75Sale price $7.75 Regular priceUnit price per$15.50Sale -
Glammar Acrylic Makeup Powder Organiser 10 Slots White
Regular price $12.95Sale price $12.95 Regular priceUnit price per$25.50Sale -
Glammar Acrylic Makeup Powder Organiser 10 Slots Clear
Regular price $12.75Sale price $12.75 Regular priceUnit price per$25.50Sale -
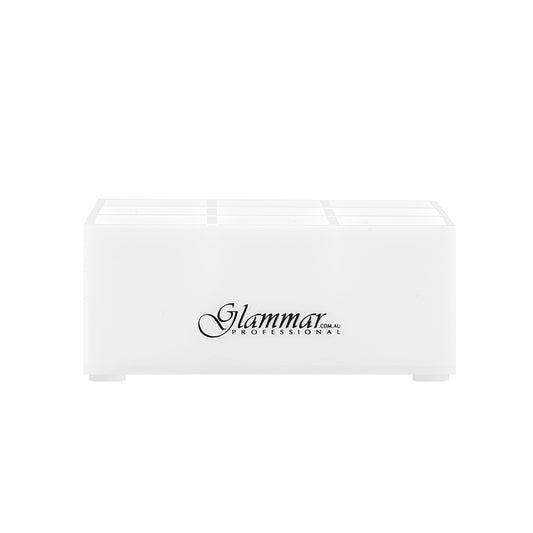
Glammar Acrylic Makeup Lipstick Organiser 9 Slots White
Regular price $4.75Sale price $4.75 Regular priceUnit price per$9.50Sale -
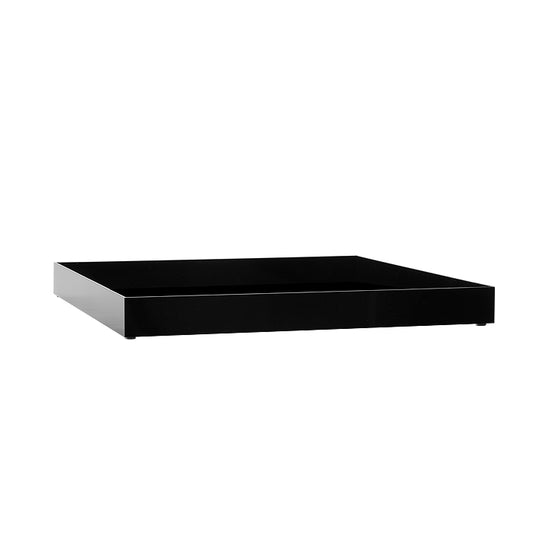
Glammar Acrylic Makeup Organiser Desk Set 3Pcs Black
Regular price $25.00Sale price $25.00 Regular priceUnit price per$50.00Sale -
Glammar Acrylic Makeup Organiser Desk Set 3Pcs White
Regular price $25.00Sale price $25.00 Regular priceUnit price per$50.00Sale -
AMR Professional Disposable Mascara Wands 50Pk
Regular price $9.95Sale price $9.95 Regular priceUnit price per$14.95Sale -
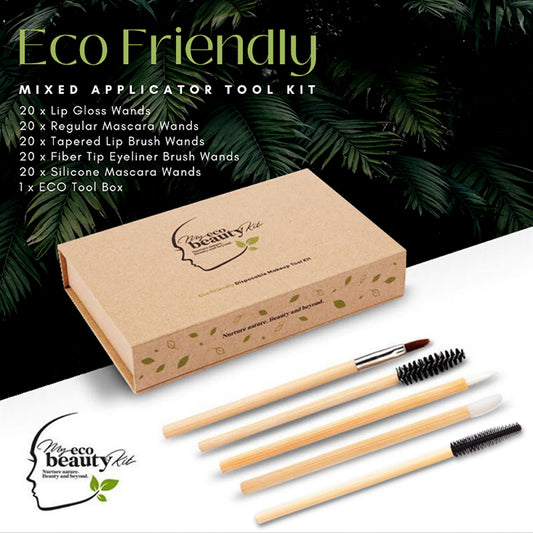
Modelrock MY ECO BEAUTY KIT Bamboo Disposables Pack
Regular price $29.95Sale price $29.95 Regular priceUnit price per$71.50Sale -
Modelrock Makeup Shield 20Pk
Regular price $9.95Sale price $9.95 Regular priceUnit price per$11.25Sale -
BeautyPRO Affinity Diamond Wedge Sponge 2pc
Regular price $3.00Sale price $3.00 Regular priceUnit price per$4.35Sale -
BeautyPRO Affinity Light Foundation Sponge 6pc
Regular price $5.00Sale price $5.00 Regular priceUnit price per$7.65Sale -
BeautyPRO Affinity Oval Contour Sponge 6pc
Regular price $3.00Sale price $3.00 Regular priceUnit price per$7.65Sale -
BeautyPRO Affinity Medium Round Thick Sponge 12pc
Regular price $3.00Sale price $3.00 Regular priceUnit price per$8.95Sale -
Lash Me Compact Eyelash Curler 619
Regular price $2.00Sale price $2.00 Regular priceUnit price per$7.15Sale -
Lash Me Press & Curl Eyelash Curler 612
Regular price $2.00Sale price $2.00 Regular priceUnit price per$5.45Sale -
Natural Look Brush Cleaner 1L
Regular price $23.95Sale price $23.95 Regular priceUnit price per$39.95Sale -
Glammar Powder Puff Square 20Pcs
Regular price $9.95Sale price $9.95 Regular priceUnit price per$11.93Sale -
Glammar Acrylic Makeup Palette Organiser 6 Slots White
Regular price $12.10Sale price $12.10 Regular priceUnit price per$25.50Sale -
Natural Look Brush Cleaner 125ml
Regular price $9.95Sale price $9.95 Regular priceUnit price per$24.50Sale -
Disposable Lip Applicator Wand Pink 50Pc
Regular price $8.95Sale price $8.95 Regular priceUnit price per$12.95Sold out